Test a Room Layout with Painter's Tape
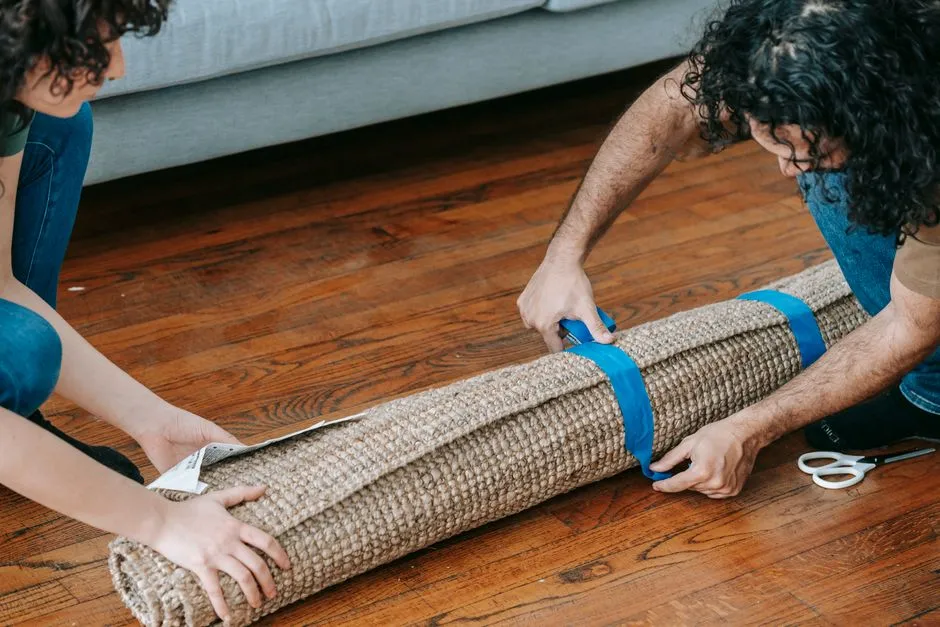
Tape the footprint, not the fantasy
Painter's tape can turn product dimensions into a full-size outline on the floor. It will not reproduce seat comfort, visual weight, reclining motion, drawer clearance, or the way a tall cabinet blocks light. It does answer the first useful question: does this object occupy the room you think it occupies?
Begin with the manufacturer's current overall width, depth, and height. Do not use seat width for a sofa footprint or mattress size for an entire bed frame. Record open dimensions for recliners, sleeper sofas, dining-chair pullback, cabinet doors, drawers, and extendable tables.
Check the tape maker's surface guidance. Test a small hidden area first, especially on delicate, newly finished, painted, waxed, or aged flooring. Apply for the shortest practical time and remove gently according to instructions. Tape can damage some finishes or leave residue; “painter's” is a product category, not diplomatic immunity.
Draw the room before taping furniture
Measure wall to wall at floor level and again where irregular walls matter. Mark doors, windows, radiators, vents, outlets, floor registers, hearths, columns, and built-ins. Record door swings and the clear space needed to operate handles.
Measure the path into the room too: exterior door, hall, stairs, elevator, corners, and the room doorway. A sofa that fits beautifully after materializing in place remains a theoretical sofa if it cannot enter the building.
Create a simple plan with every dimension labeled. Note baseboards and trim where a piece must sit close to a wall. Do not assume a listing image is drawn to scale.
Browse room planning for a complete measurement sheet.
Mark the exact outer edge
Clean and dry the test area. Use short tape pieces to mark the four corners, then connect them into an outline. For a curved or irregular object, mark its widest and deepest points and add the shape inside that bounding box.
Label the outline with the item name and dimensions. If comparing two sizes, use two tape colors or solid and dashed lines. Add the rug, side tables, ottoman, and open doors rather than testing the hero piece alone.
Mark height with removable tape on a suitable wall, a cardboard silhouette, or a standing measuring stick. A low outline cannot show that a bookcase covers a switch or that a sofa back divides the sightline. Never tape delicate wallpaper, artwork, or finish without explicit product suitability.
Test circulation with real bodies
Walk every normal route: doorway to seat, sofa to window, bed to closet, table to kitchen, and room to room. Carry a laundry basket, serving tray, or mobility aid when that reflects actual use. Open every door and drawer. Pull out chairs. Simulate the recliner or sleeper mechanism with a second taped outline.
There is no single universal clearance number for every household, body, or jurisdiction. Start with the furniture maker's operating requirements and any applicable accessibility or building guidance, then test the people and tasks in this room. A passage can satisfy a generic diagram and still fail a walker, wheelchair, large dog, or person carrying a sleepy child.
Do not block exits, heaters, vents, electrical panels, or required access. Keep safe distance from heat sources according to appliance and local instructions.
Build cardboard mass where it matters
For a large purchase, turn empty boxes into a rough volume. Match the item's width, depth, and height, or create vertical panels at key edges. Cardboard reveals blocked light, screen sightlines, visual bulk, and the sensation of a cabinet leaning over a small room like an overly interested relative.
Keep temporary structures stable and away from flames, heaters, stairs, children, and pets. Do not stack boxes where they can fall. This is a visual mock-up, not furniture.
Sit in existing chairs at normal eye level. Check views toward windows, television, conversation partners, art, and doors. Photograph from the room entrance and main seated positions; wide-angle phone lenses can distort scale, so trust measurements over dramatic images.
Live with the outline
Leave a safe tape outline down for one ordinary day only when the surface and product allow. Notice where bags land, toys spread, pets sleep, doors remain open, and people cut corners. Morning and evening light may reveal that the proposed cabinet creates glare or shadow.
Place trays or boxes inside the outline to simulate surfaces. Can a drink be reached? Is a table edge in the route? Does a dining chair still work when someone sits behind it? Record friction instead of adjusting the tape whenever the plan loses an argument.
Decide with a constraint log
Write three columns: works, friction, and fails. A blocked drawer is a fail. A route that needs a minor shift is friction. A clear entrance and comfortable conversation distance work.
Update the measured plan with the final footprint. Save product dimensions and a photo of the mock-up, then remove tape carefully. If two options both fit, compare comfort, materials, delivery path, warranty, return terms, and total cost rather than awarding victory to the larger rectangle.
Use our wood-tone mixing guide after the layout is settled, and browse material palette before choosing finishes. Scale comes first. A perfectly matched walnut table remains inconvenient when it has colonized the doorway.